Once you've created an account and registered your farm, you're ready to set up your account.
Farm Set-up
The following steps must be completed next (you will also receive a welcome email with them):
-
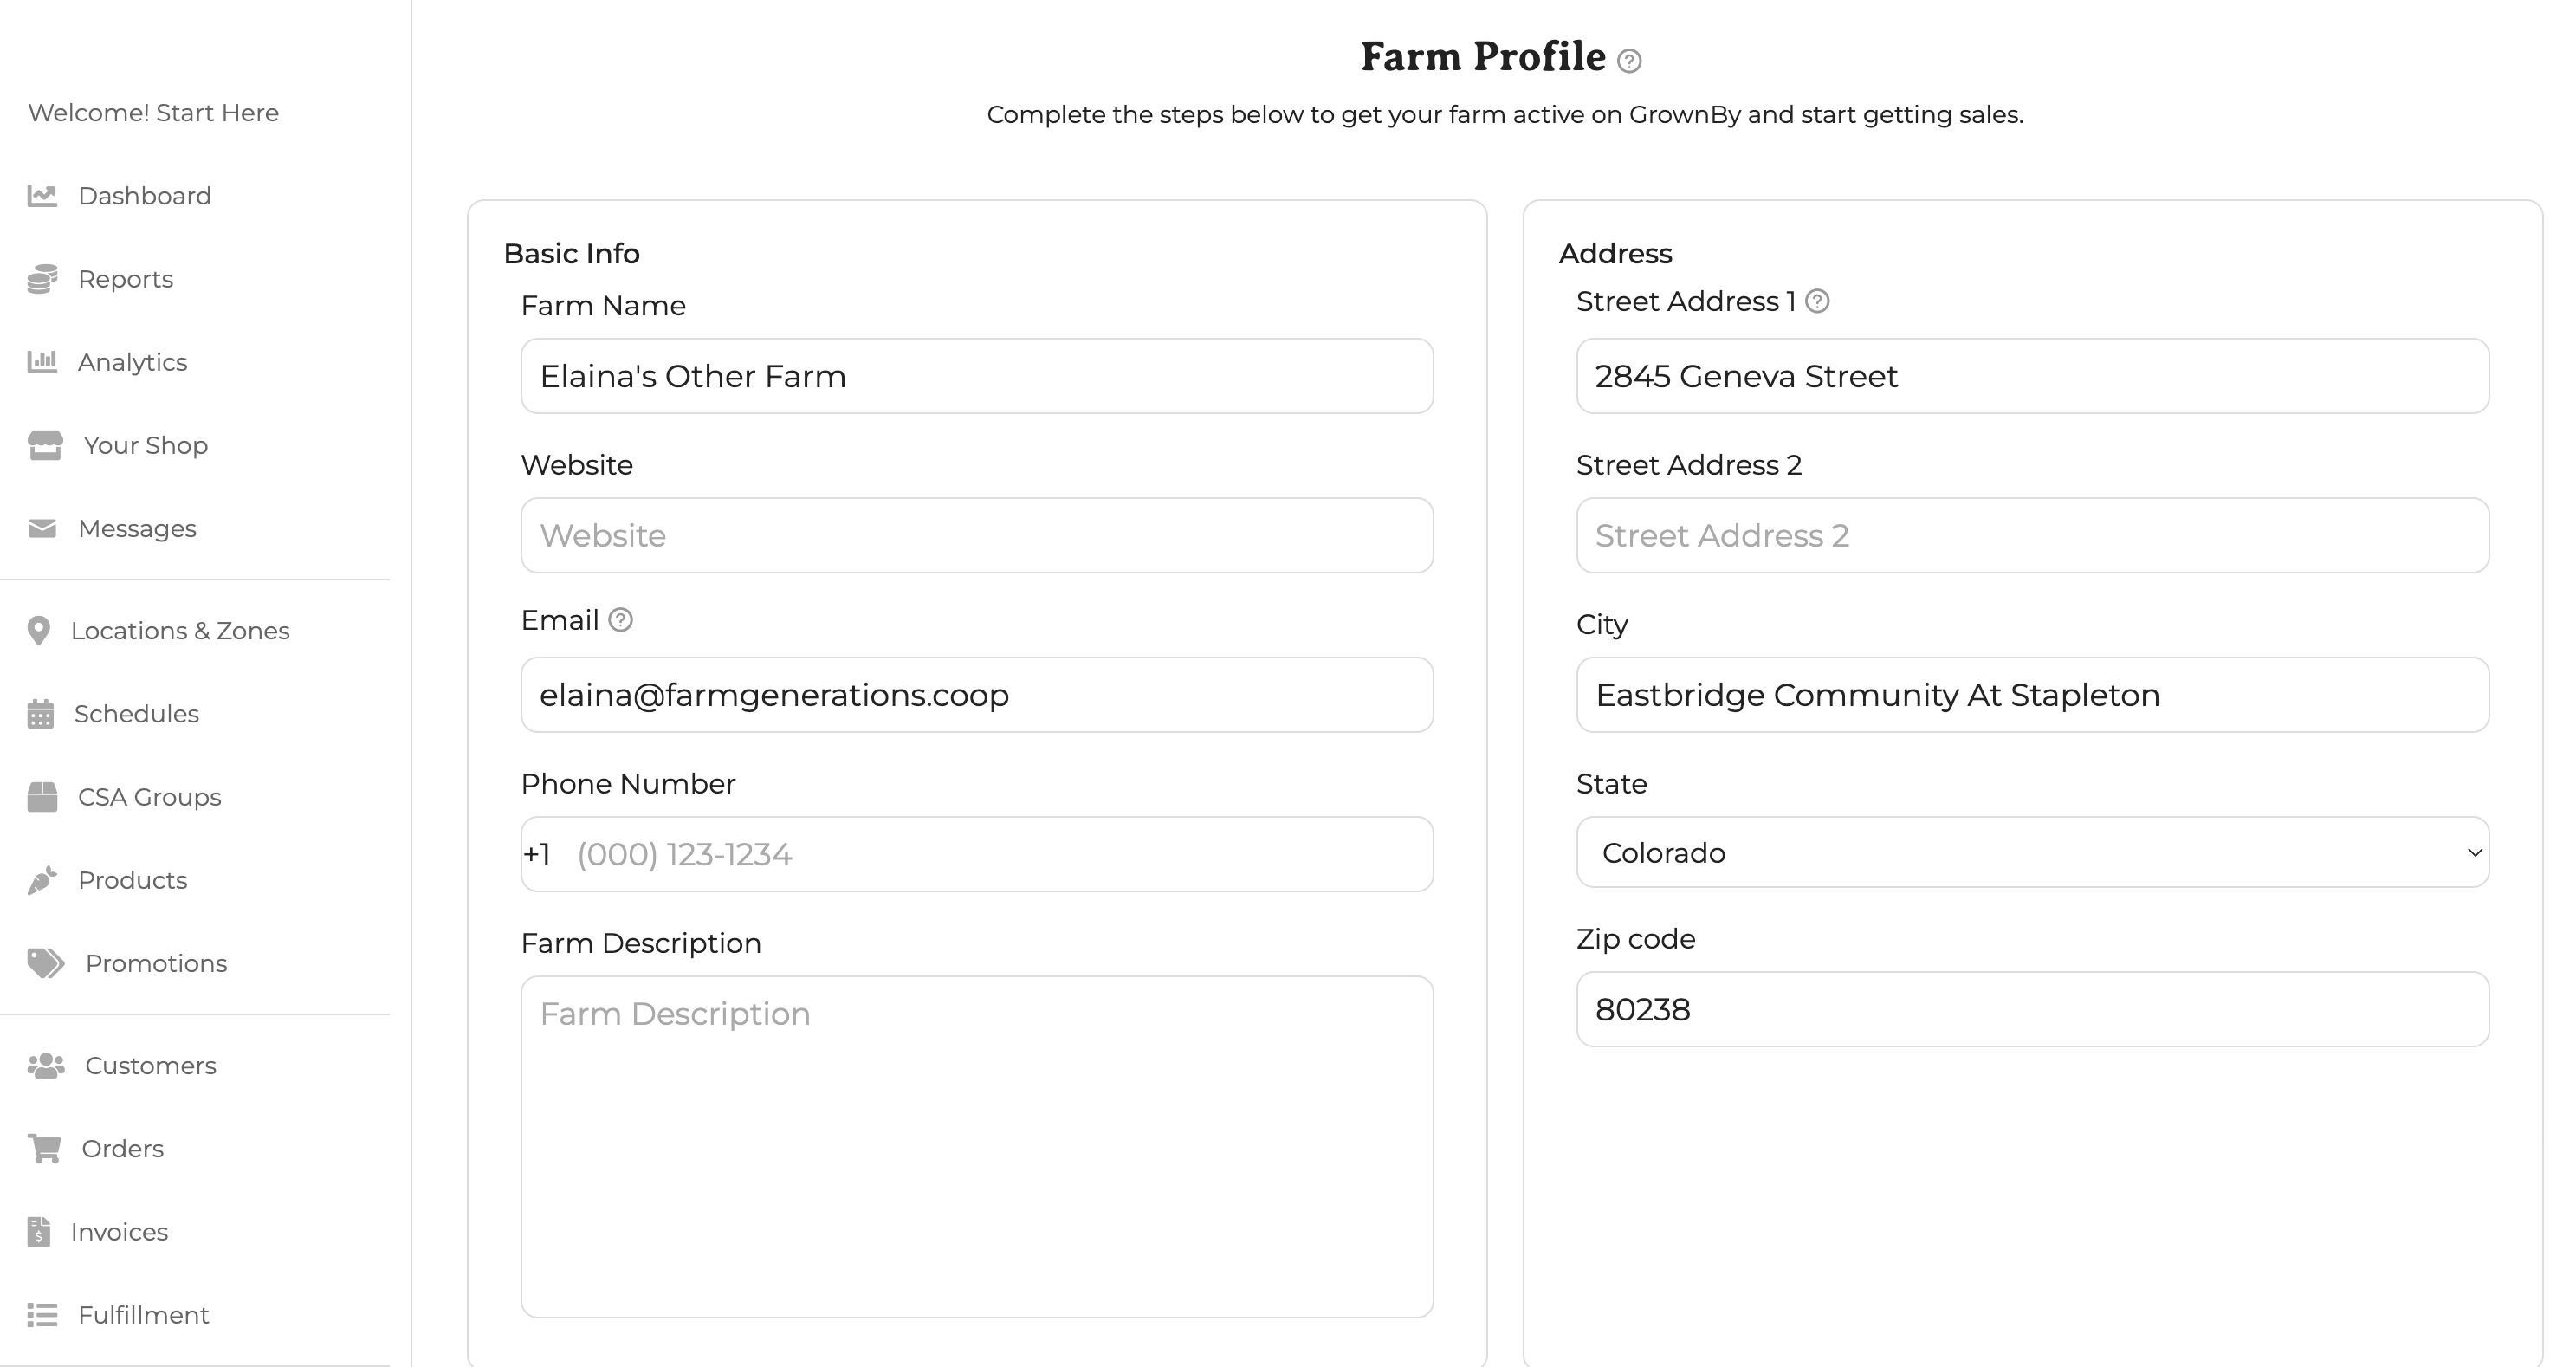
Update farm profile - Enter the information requested on the Farm Profile page. The first part of the page looks like this:
-
Configure Payments: Follow the instructions in this article to set up payment information. GrownBy uses a processor called Stripe to run credit card transactions. You will need some basic business information and documentation to complete this step. Configure SNAP/EBT: SNAP is the Supplemental Nutrition Assistance Program of the USDA. In order to accept SNAP and the EBT payment method, follow these directions.
-
Add locations: Check out this article about adding locations.
-
Add Schedules: Check out this article about adding schedules.
-
Create a CSA Group if needed. Note that this feature is only available to farmers with a paid plan that enables CSAs.
-
Add Products and Shares: Check out this article about Standard Products, and if applicable, this article about Shares and Subscriptions.
-
Review your shop: Choose "Your Shop" from the menu on the left to see your shop as your customers will see it. If you'd like us to review your shop before you share it with your customers, just ask us at [email protected]
-
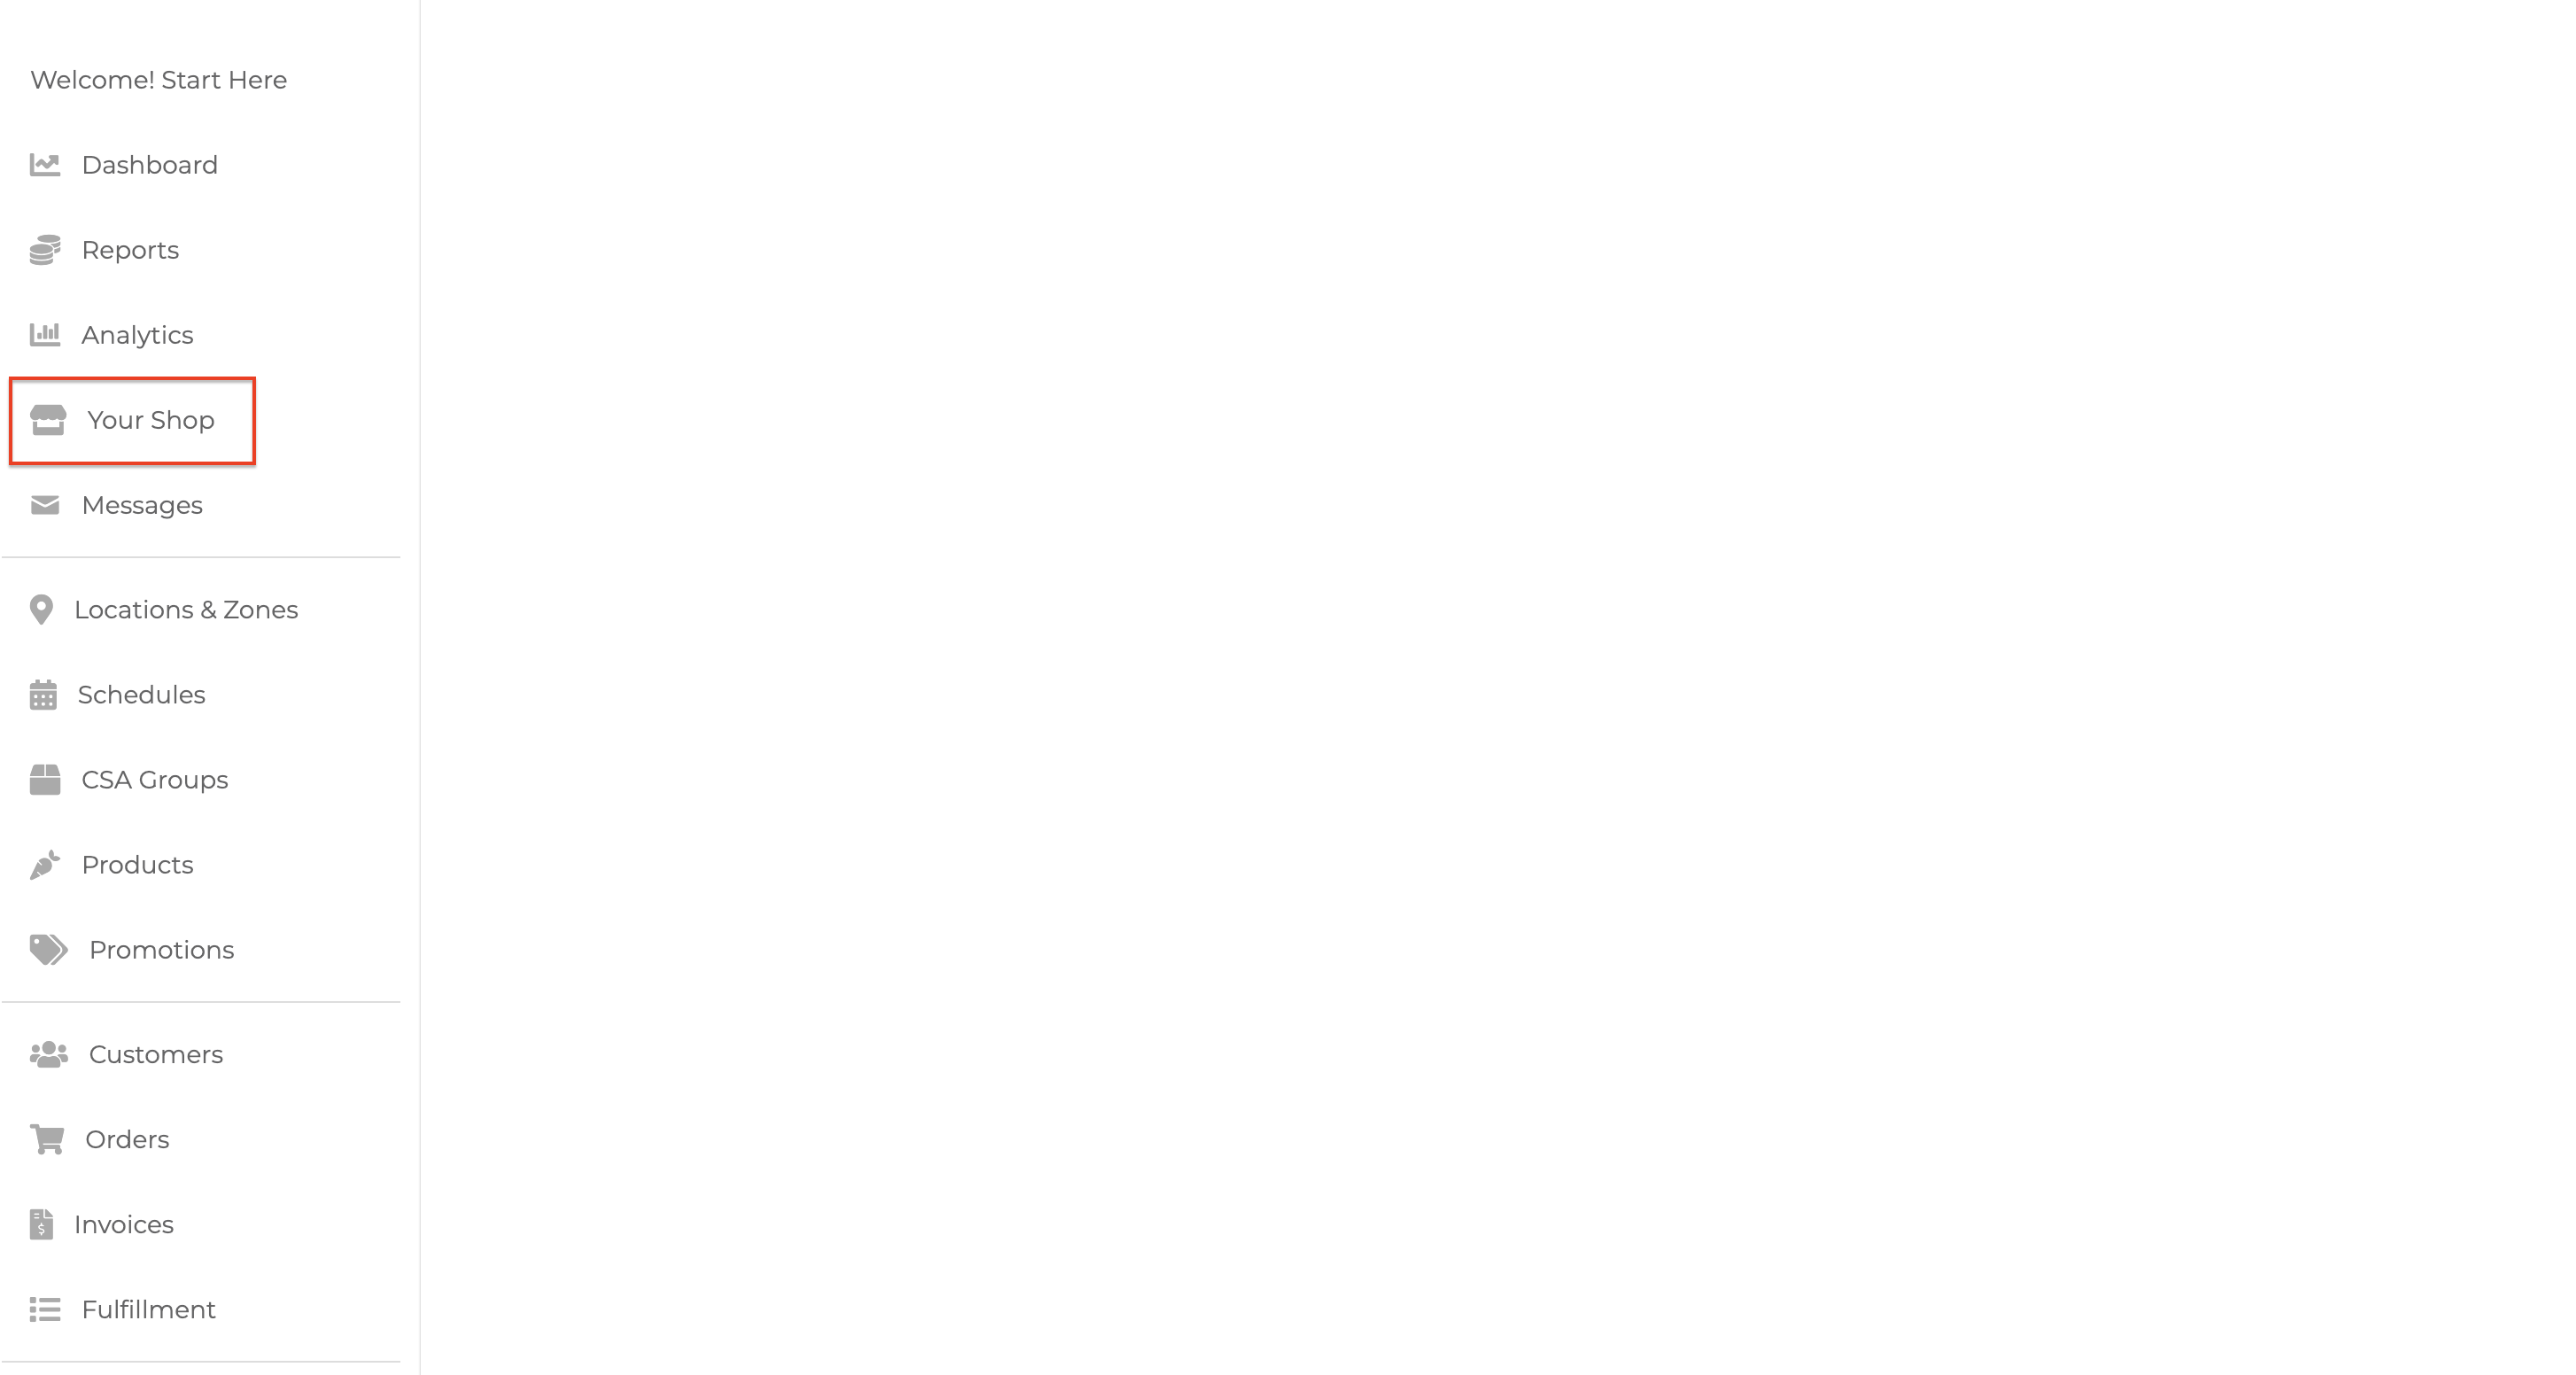
Share your shop: At the bottom of the set-up screen, there will be a link that you can share with your customers. If you would like us to customize your URL to include your farm name, just email us. You can also access the link on your dashboard by clicking Your Shop:
You are now ready to start taking orders! As always, feel free to reach out to us at any point with questions about setting up your GrownBy account or with ideas for features you'd like to see added to the platform!