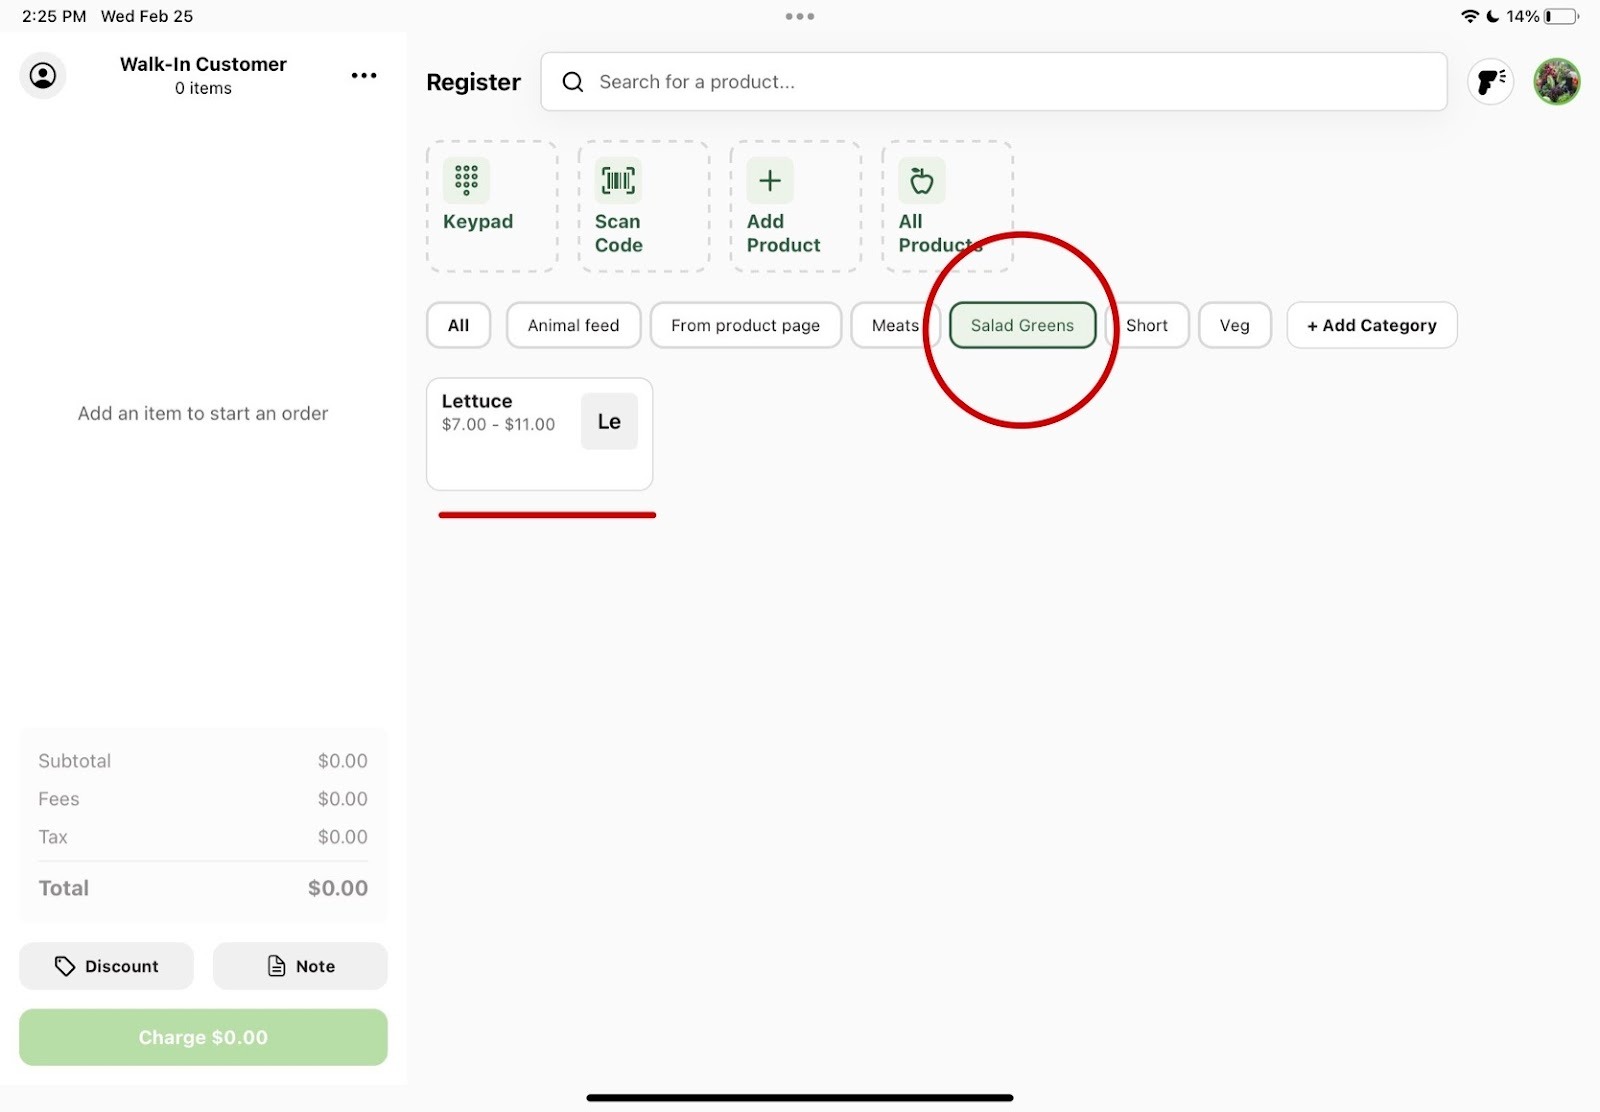
Organizing your Register
Adding categories to your Register can be helpful for organizing your products to make for quicker and easier check outs. You can categorize them by product type, seasons, and more. It is completely customizable so you can choose how to file your products.
How to add categories to Register
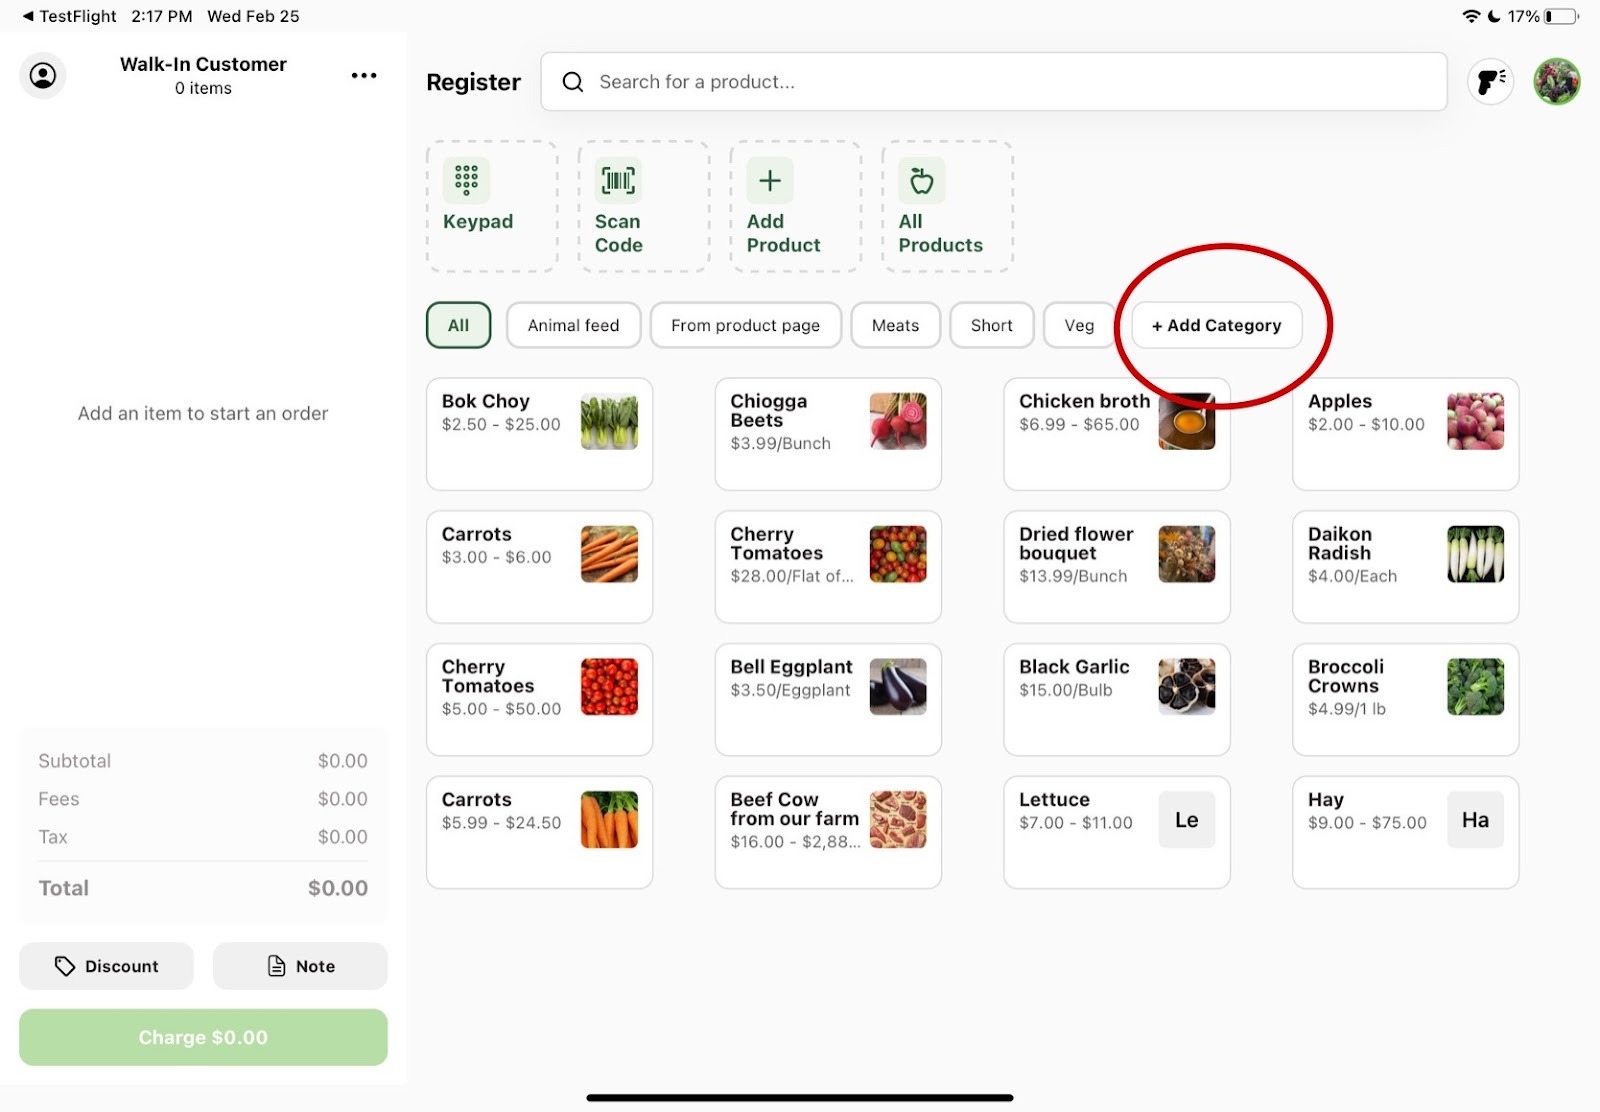
1. Click on the "+ Add Category".
On the home screen, click on + Add Category (+ Add on small devices).
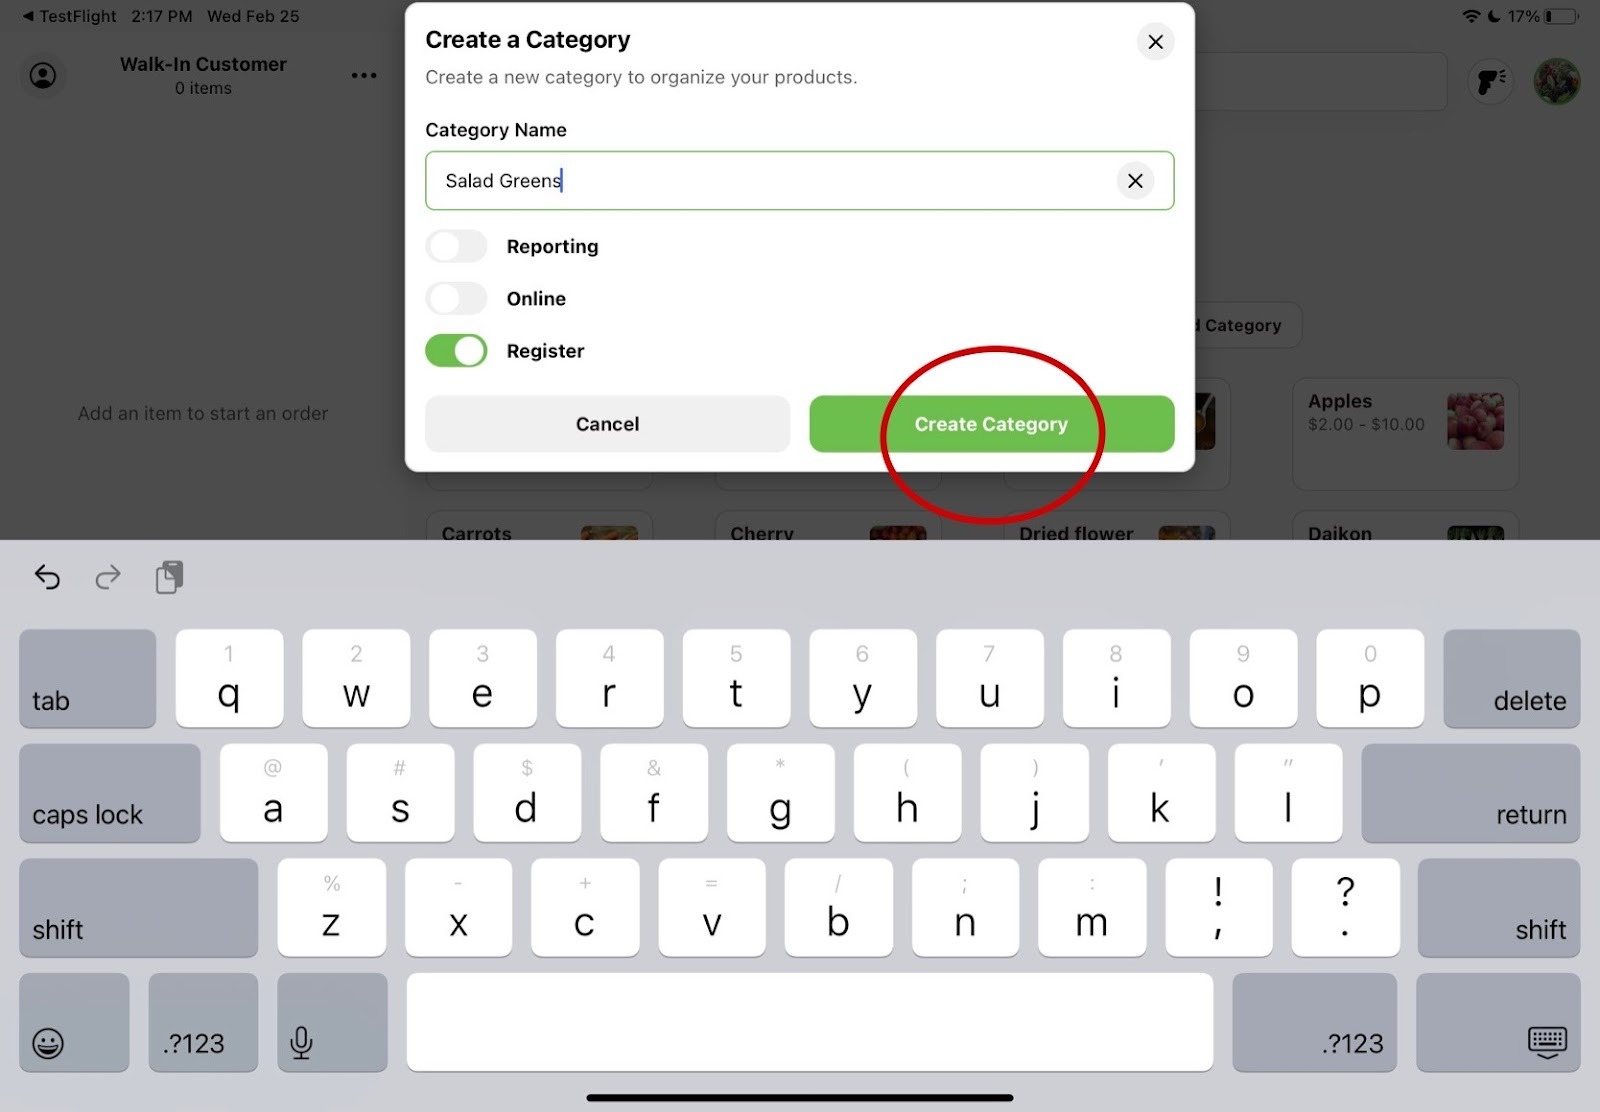
2. Enter category information.
Enter a category name and choose which catalogs to include this category in. The "Create a Category" pop-up shows three options: Reporting, Online, and Register (Register is on by default). A category can belong to multiple catalogs at once. Click the green Create Category. Your new category will show up on the register home screen.
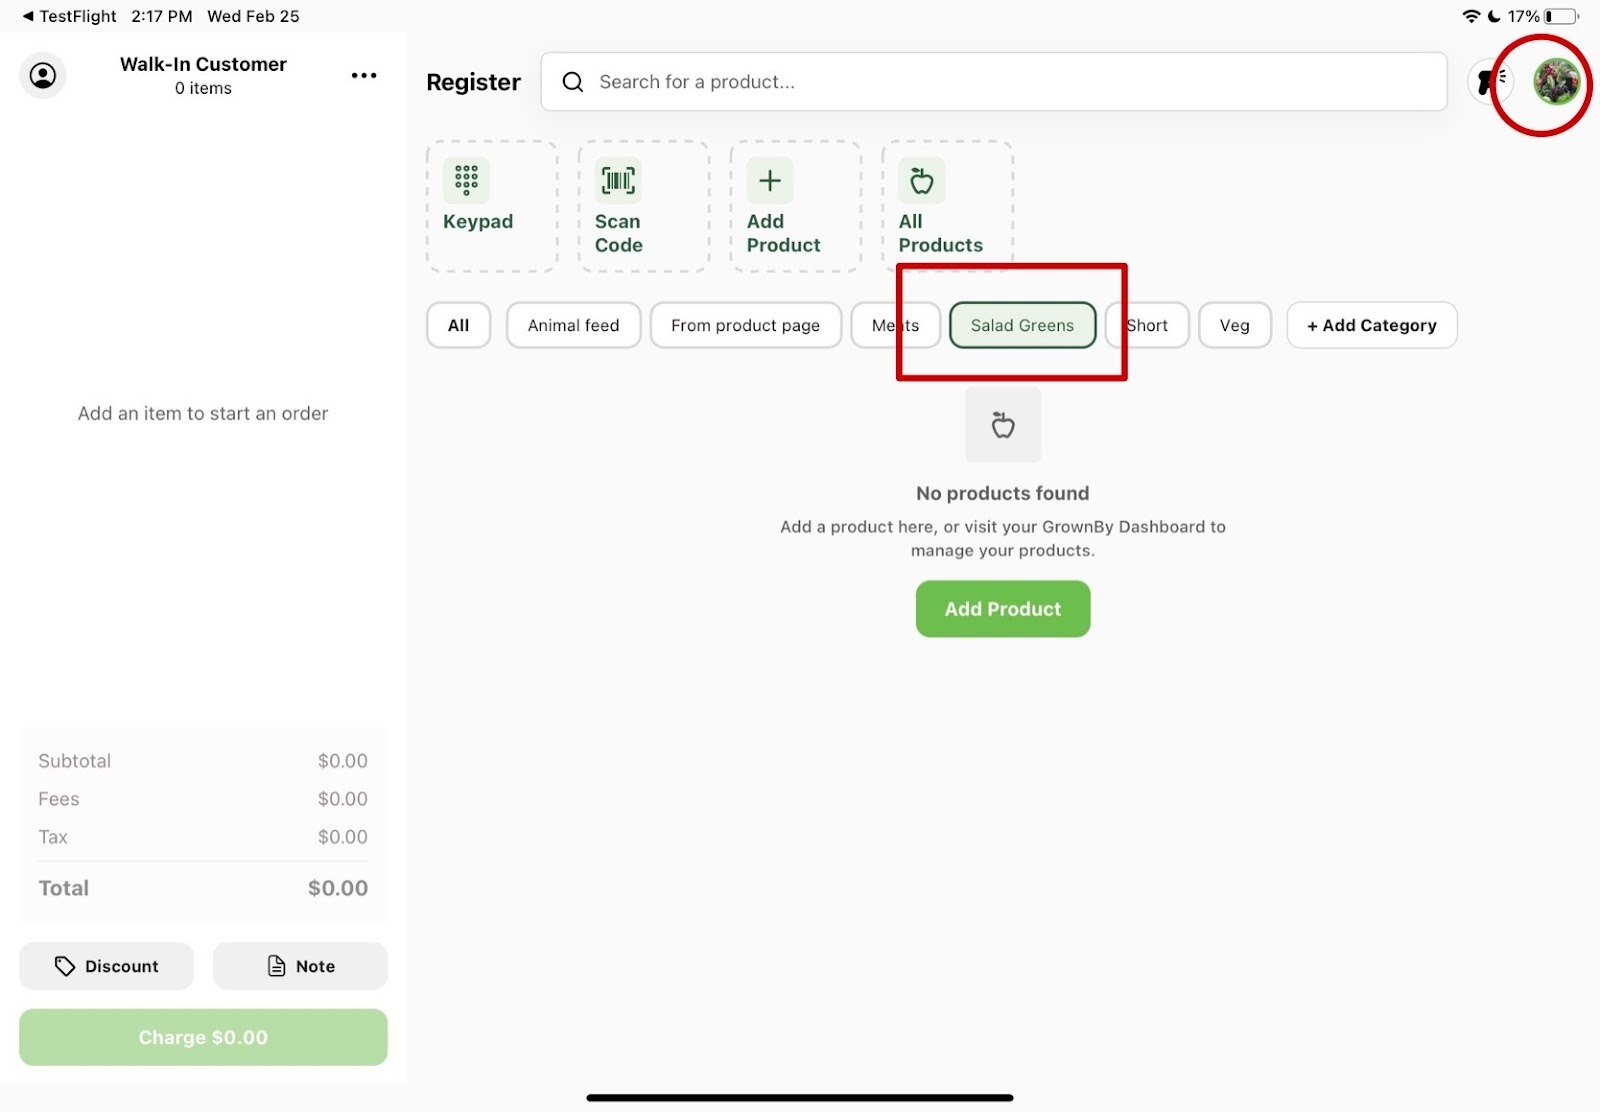
3. Add a new product to the category or navigate to the Products page to add existing product.
Click on the new category tab on the homepage, and it will say "No products found". If adding a new product entirely, you can click on the green Add Product button. But if you'd like to add existing products into the category, click on the profile icon in the top right corner.
4. Select the Products page from the menu.
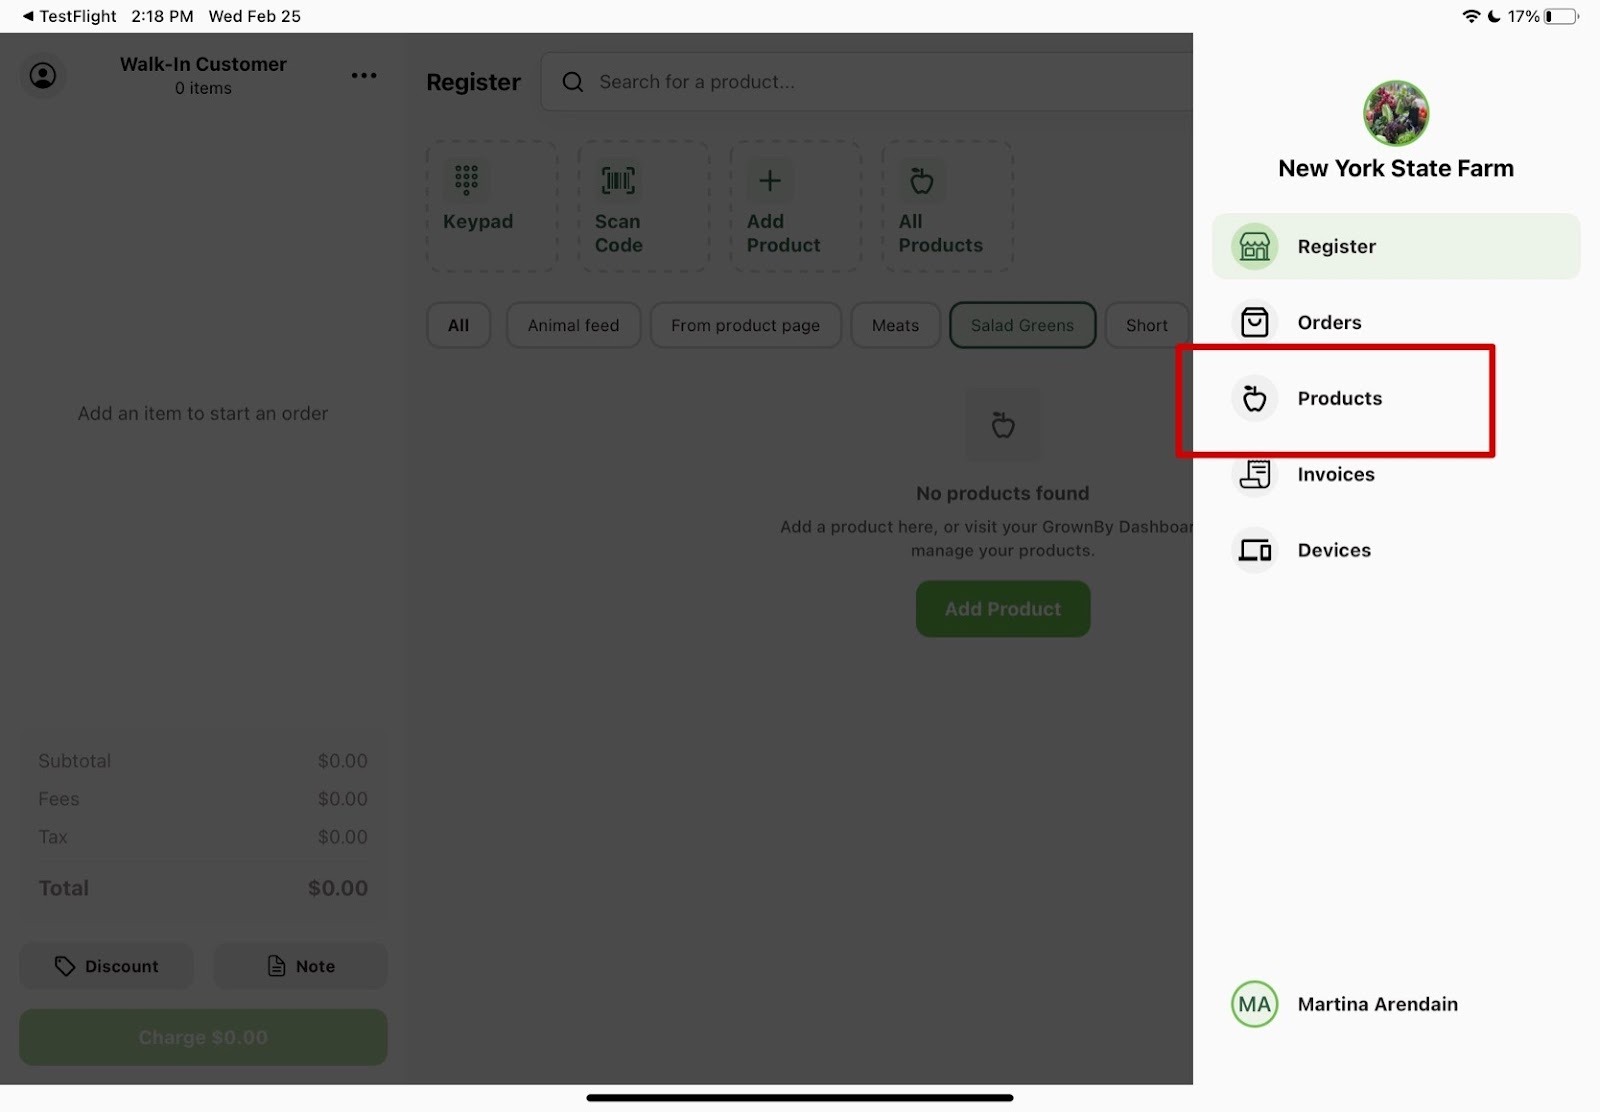
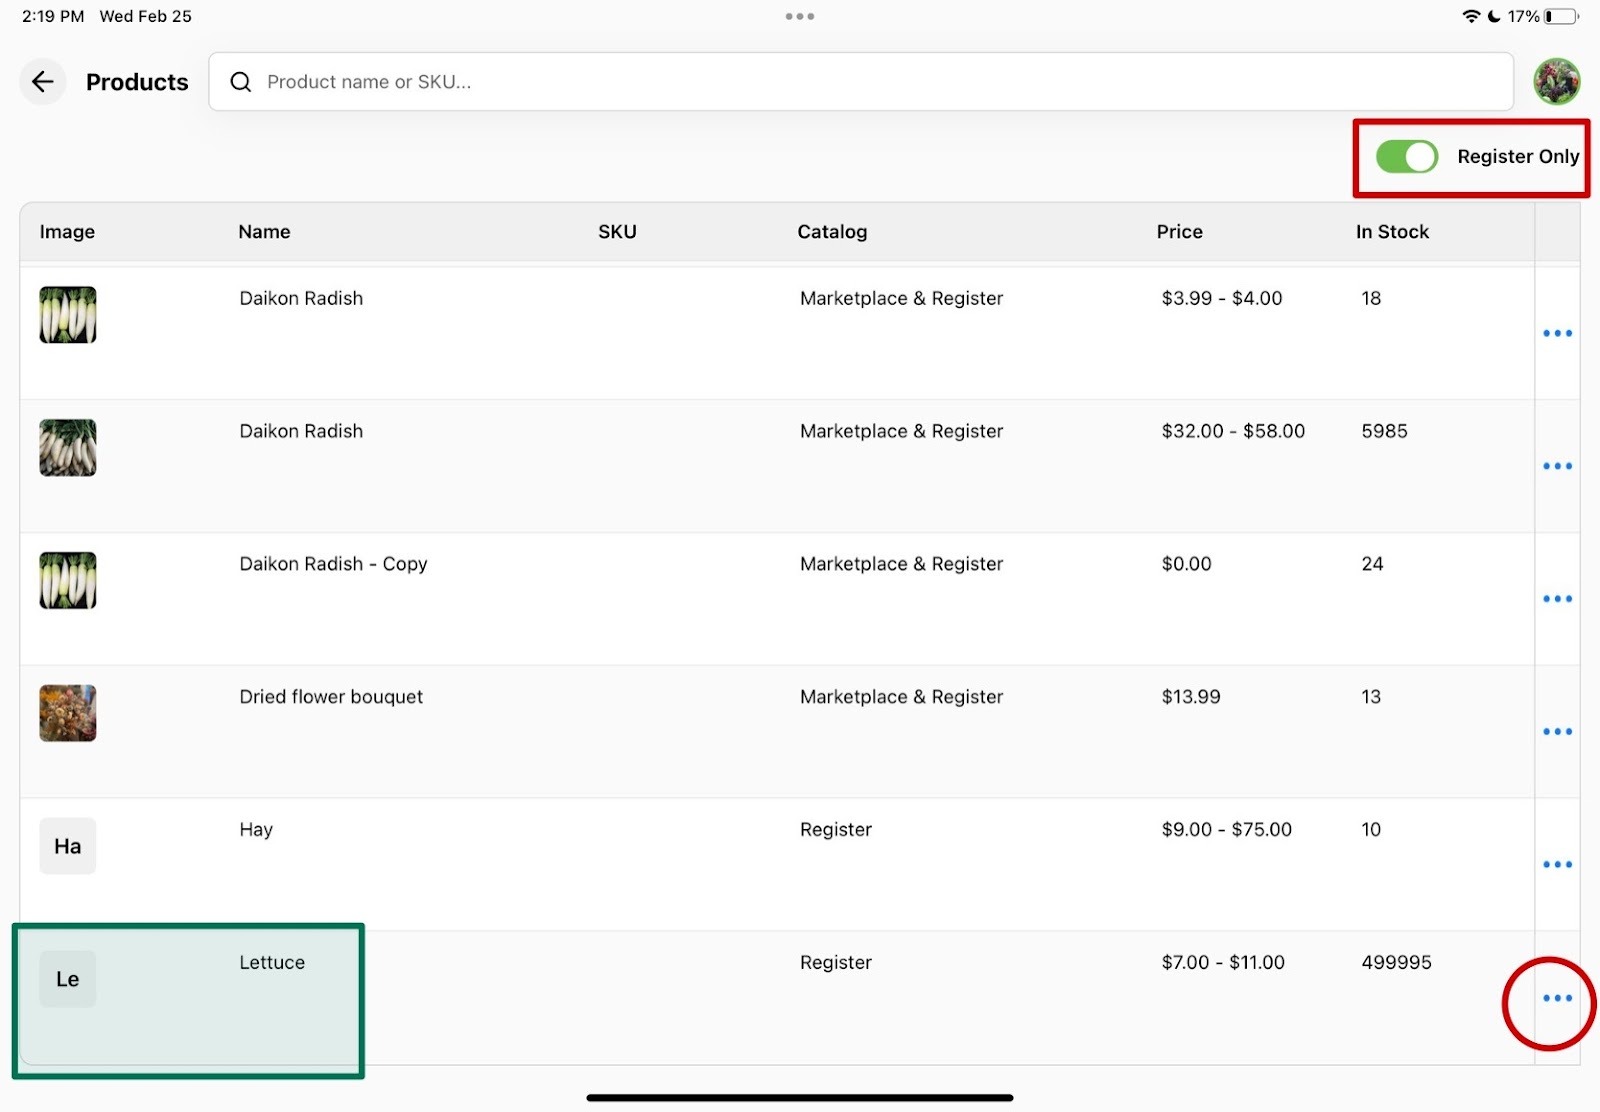
5. Switch to Register Only products and select the product you'd like to add to the new category.
Turn on the Register Only switch above the products table so that only products available on Register will appear. Find the product(s) you want to put into the new category and press the three dots to the far right of the item name.
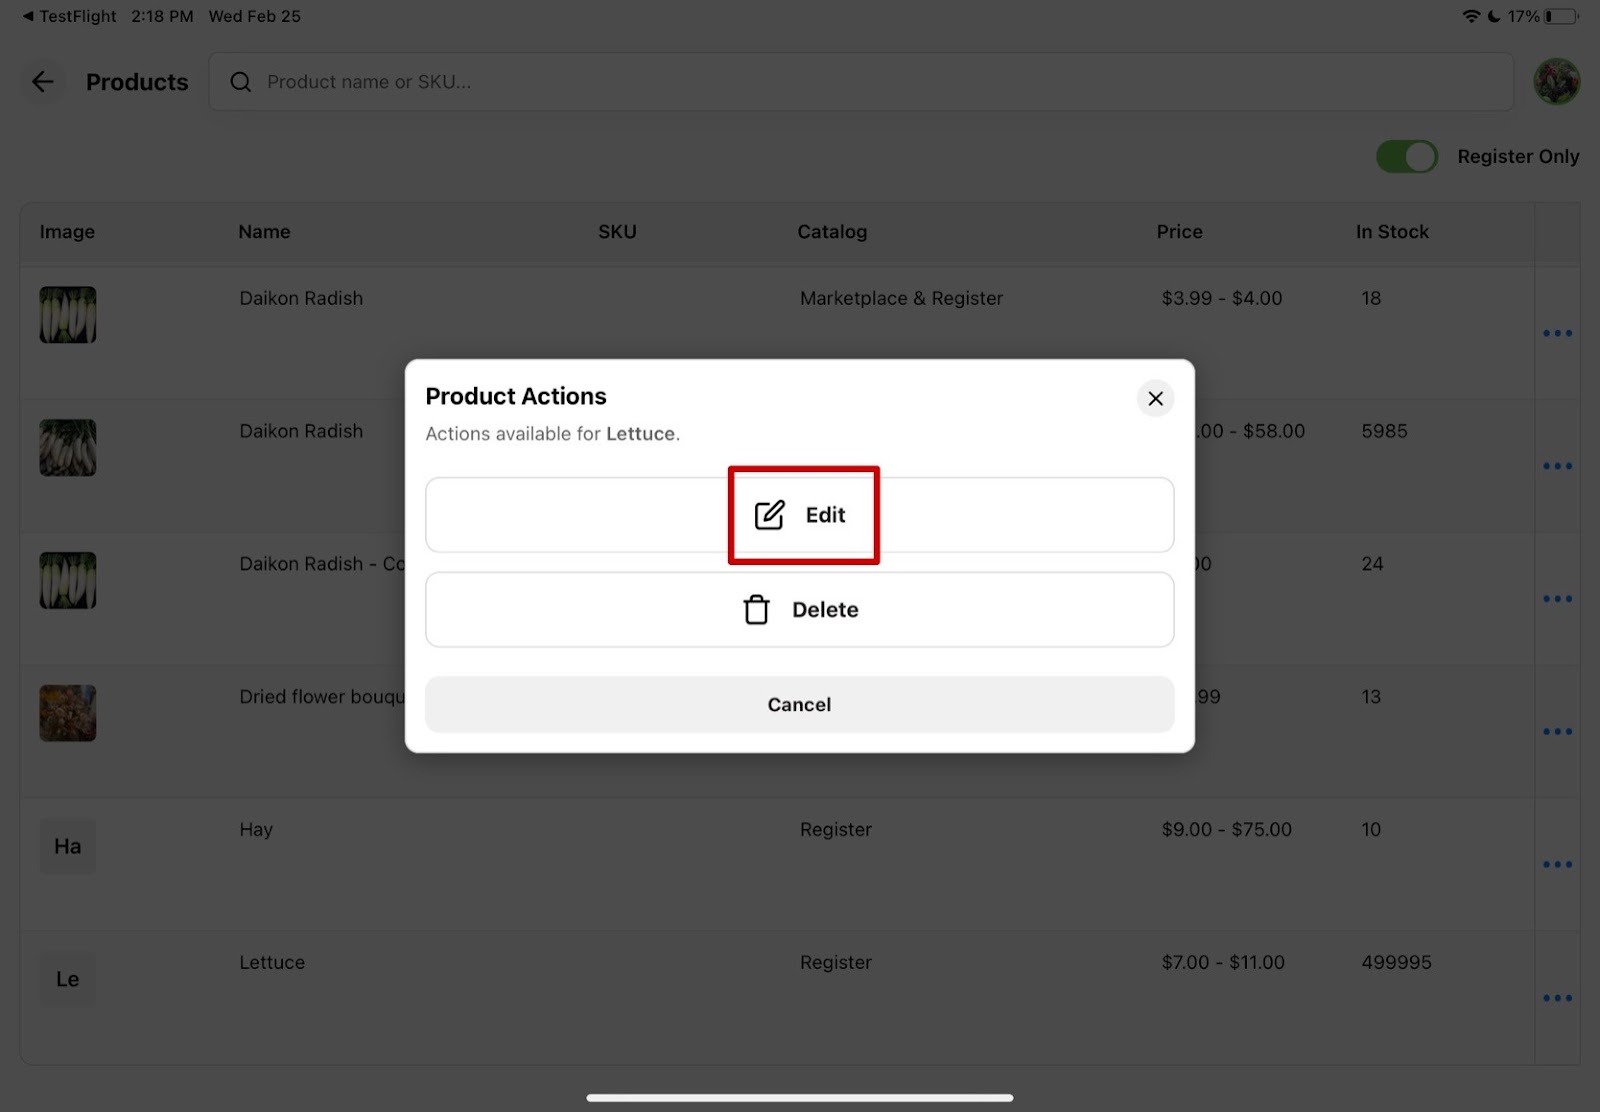
6. Select the Edit button.
A Product Actions menu will appear with options to Edit, Hide/Unhide, or Delete the product. Click Edit to bring up the product details.
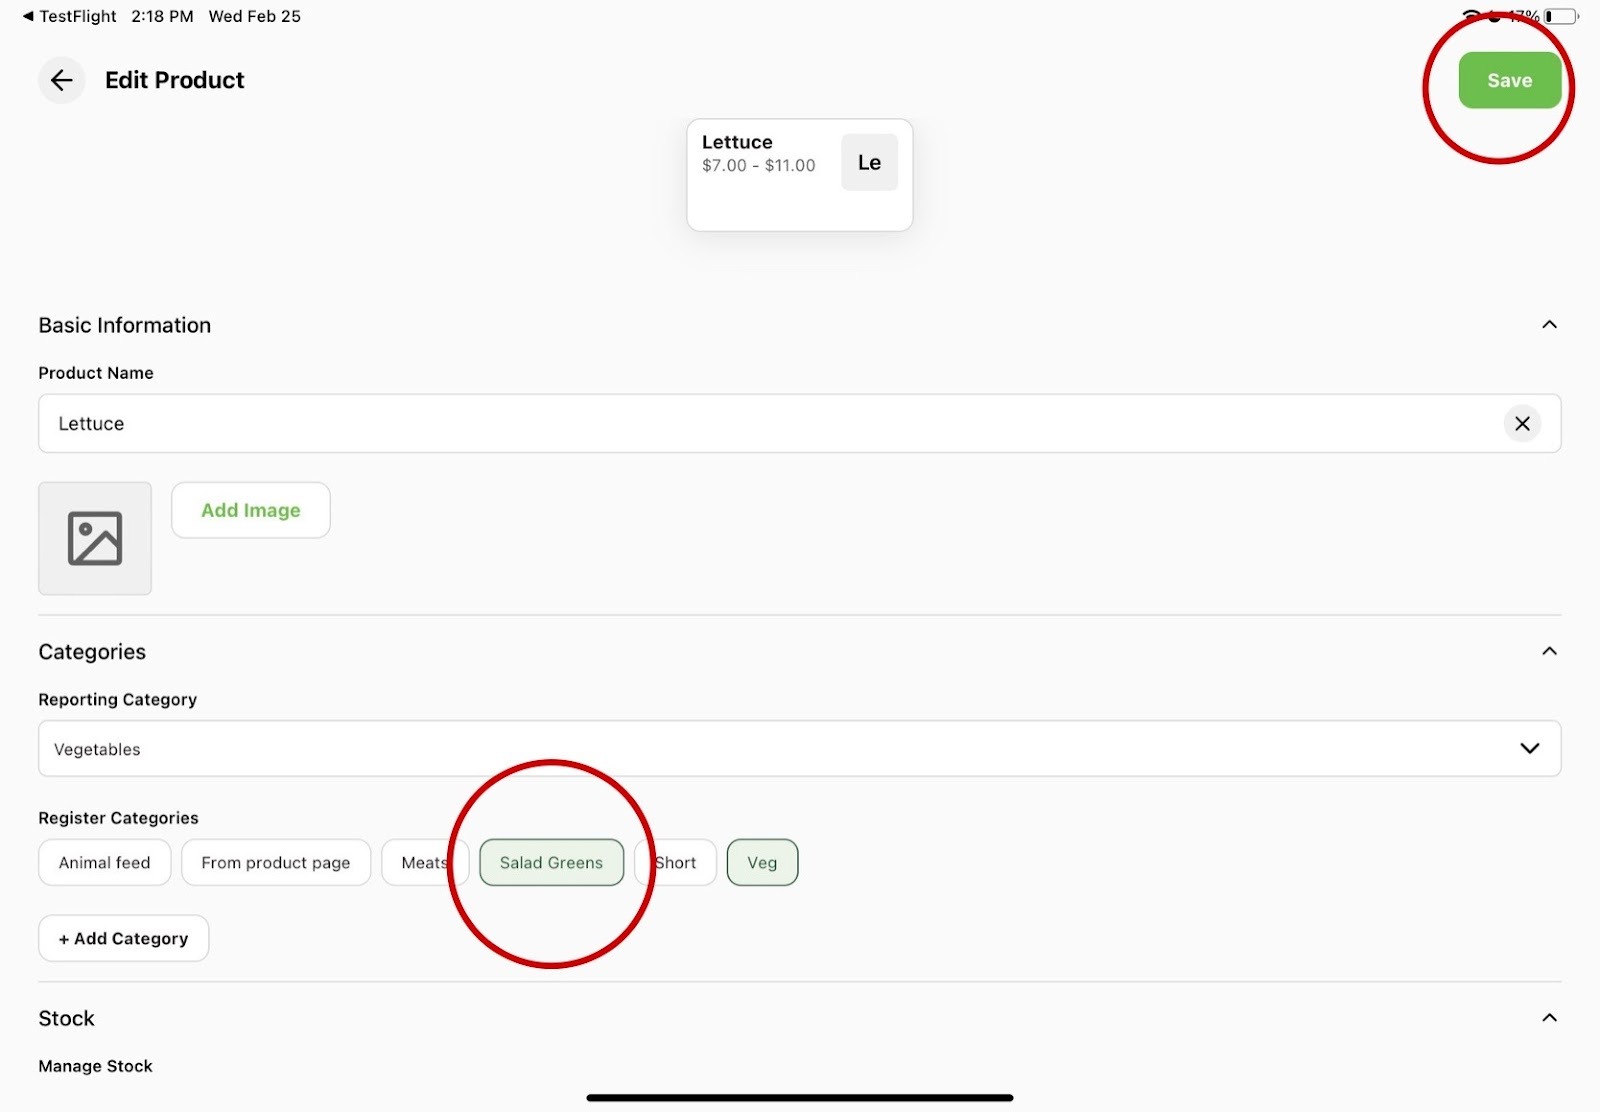
7. Add the product to the new category.
Go down to the Register Categories section and select the new category you just created. Press the green Save button in the top right corner.
8. Confirm on the home screen that the product is found in the new category.
From there, navigate back to the register homepage and you can find the product in its new category. The product will load into that category page and you will be shown the product's icon.